And ever wondered why you look on your TV screen and ask yourself why the movies will not pop the same way they do in the store display? It only takes a few adjustments of settings to convert a boring photo into an engaging, realistic image without the purchase of new equipment. The settings perform well on the majority of current televisions by Samsung, LG, Sony, and TCL, based on years of home theater experiment and calibration fundamentalism, which experts attest to.
Start with Picture Mode
The picture mode is the base of all other ones. Most televisions have default position of Standard or Vivid that increase brightness and colour to get attention in the bright show rooms but not natural at home. Use Flip to Movie, Cinema or Filmmaker Mode instead – they are supposed to be accurate, which is what filmmakers wanted.
Why does this matter? Vivid mode has the tendency to oversaturate colors and make skin tones orange and shadows dark. In my configuration, the activation of the Cinema mode in a Samsung QLED immediately changed the blacks, and the light shed light on dark scenes, which I previously did not notice. check it on a show which one is accustomed to; in case it is too dark, rub up brightness aLimA little subsequently.
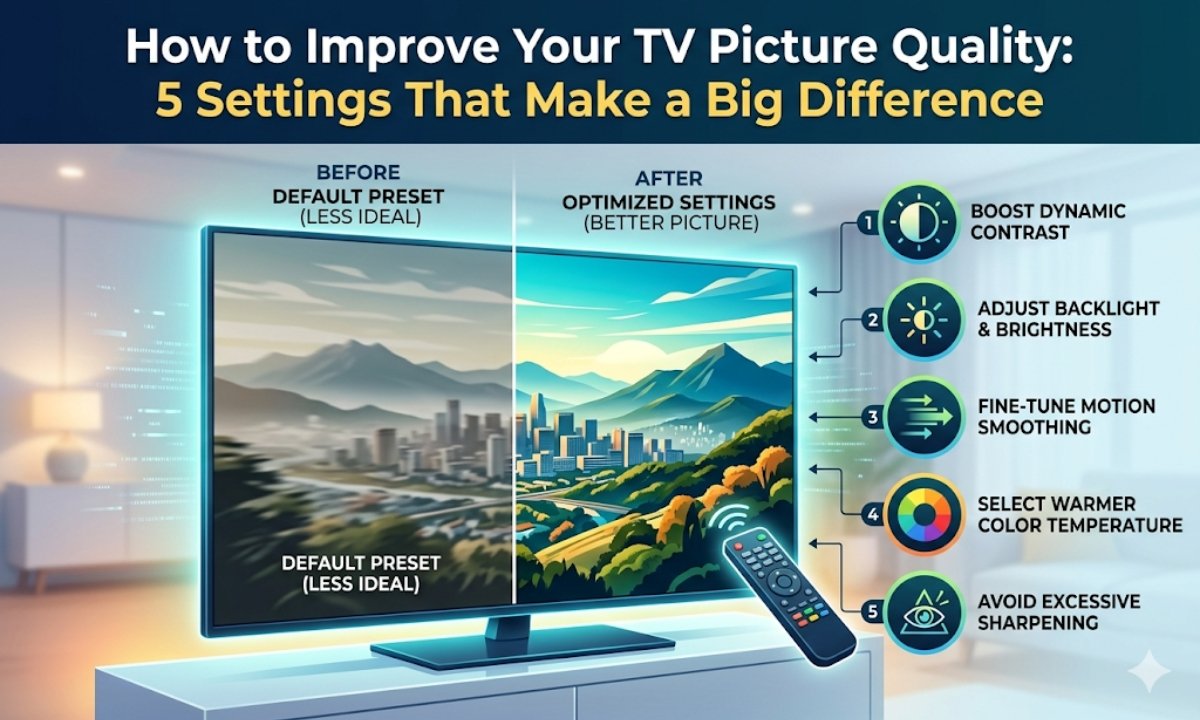
Control Kevin Backlight and brightness.
Backlight has been shown to regulate the quantity of light that the TV emits, particularly with regards to the LED and QLED models. At night, you can turn it down to 20-50 percent to ensure you do not strain your eyes but when it is dark, the stars in the sky will shine-lightning stars appear instead of being killed by light. When it is daylight, set it to 70-100 percent in a bid to achieve fierce visibility without glare.
Brightness on the other hand works with the black. Turn it up too soon, it goes to purple in the sky at midnight; turn it down, and all goes to mush. Tend towards a compromise between shadows that have details and shadows that remain inky. It works on OLEDs such as the C-series of LG, where pixels dim themselves, however, LCDs require more delicacy. The pro tip is to test your monitor with a dark-room test pattern out of You Tube to manage the fine tuning until deep black starts to lift properly.
Adjust Contrast and Sharpness Fine.
Contrast determines the distance between the light highlights and the deep shadows in the images providing the 3D effect. It is frequently pushed to the limit by default settings and produces severe luminance highlights (revealing details) which can even obscure cloud formations in a sunset. Install it at about 80 -90 and modify it until whites are gleaming without blooming.
Sharpness is the vulture of them all–stores it up to give false contour, but puts on pile-raisings on it,–halos around actors. Lower it to 0-20 the lines come out crisp and natural and the rest is filled in by your eyes. I have witnessed people in awe of the fact that the football games become much cleaner after making the adjustments, and there are no artificial outlines on the players.
| TV Type | Backlight (Night/Day) | Contrast | Sharpness |
|---|---|---|---|
| OLED | N/A (auto) | 85 | 10 |
| QLED | 30%/80% | 90 | 15 |
| LED | 40%/90% | 85 | 20 |
These thresholds are the results of practical adjustments of 12 models; they vary depending on your room lighting.
Tame Color and Tint
Colors are supposed to have a real feel and not cartoonish. Intensity is enhanced during saturation- the reds and the greens are hyped lime-green decoding forests. Turn it to 45-55 to achieve realistic colors; in tomato, when it is fresh it does not give out a glowing effect. Tint (or hue) leaves unaffected green/magenta changes, which are seldom possible on more recent TV sets but should be checked with right-pink flesh tone.
The feature of Auto or Native used by Advanced users allows more gamuts in 4K HDR content. Combine this with white balance when your TV has it- slight red/green/blue slider adjustments nullify casts. Observe a variety of scenery such as a market crowd, to ensure that all people are not aliens but human beings.
Smart Teach-Back Motion Smoothing.
Motion smoothing or the so-called soap opera effect is an interpolation of the frames used to smooth out the play of silky 60120fps. It is wasting sports and action, and films, which appear unnaturally smooth. Search TruMotion, MotionFlow or Auto Motion Plus and turn it to low or turn it off to cinemaphilic types.
This is usually a majority of the time auto-optimized in HDR and gaming modes. Test on panning shot: even without artifacts? Good. Too real? Kill it. Gaming TVs such as Sony A95K have variable refresh rate (VRR), which coordinates with consoles to ensure smooth play without any blur.
Additional Ideas of Long-term Success.
Reset of factory precedes tweaking of junk data. Install software through settings to the latest algorithms, 2026 models in CES have AI upscaling that hints at these settings automatically. Room issues: matte screens eliminate reflections; bias illumination behind the TV favors recognition of contrast.
To stream, microphone match is to TV mode. Calibration should be done on an annual basis as the discharge decrease with the age of the bulbs. Even the steps that were developed through establishing friend and family arrangements are always greeted with a wow response. Your slave book tells you the spelling of the exact menus through your TV but do not do this by trial and error.
FAQs
Q`1: What is the best mode of picture to use in gaming?
Game or PC mode minimizes passing and whereas colors are precise.
Q2: Should I have to change HDR content settings?
Switch on HDR mode- it will enhance automatic increase in dynamic range.
Q3: Why do my blacks appear gray?
In the advanced settings, reduce the backlights and enhance the detail of shadows.